After enduring two agonising months of defect rectification, we’ve finally closed that chapter and moved on to the next – our home renovation! This is the exciting part where we can see our dream home having a “facelift” day by day. Maybe I shouldn’t say facelift as this is a new property. A “makeover” will be more appropriate.
Before I share more on that, I’d like to answer a frequently asked question on my blog – Who is my ID? Initially, I plan to share his contact details after my renovation is completed together with the pros and cons of working with him. But since many of you have been asking for it, I’ll be sharing it today – you can find his contact at the bottom of this post. So far, we’ve a pleasant and comfortable experience with him. Thus, I feel confident to recommend him on my blog. At the end of my renovation, I’ll write-up a detailed review on my Interior Design company.
As mentioned in my previous post, we’ve chosen neutral colours that include white, grey, beige and brown as we’re going for an overall soft and cosy look. Our renovation started three weeks ago with false ceiling, electrical and painting works completed so far. Here are some pictures to share:
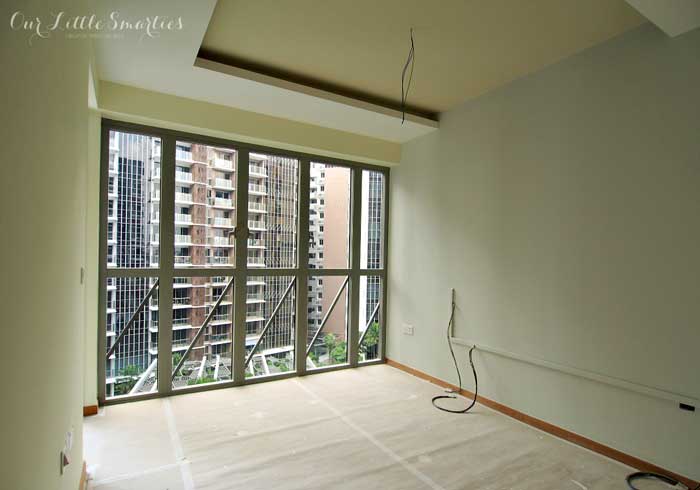
Master Bedroom

Nippon Odour-less Premium All-in-1 paint turns out to be a perfect choice that never disappoints. For the first time, I walked into a newly painted home and it was completely odourless. Very impressed! I love that it’s washable, anti-bacterial and resistant to fungus too.
For our master bedroom, we used Lily White 1137 and Smoky 1112 on the walls, and Whisper Grey 5009 on the ceiling. It was a last minute decision to use Whisper Grey on the ceiling (original plan was pure white). The three tone colour idea is really refreshing, with the extra boost from Whisper Grey. I love this colour combination.
Bedroom 2

For Edison’s bedroom, we used Latte 1114 on the walls and White on the ceiling. It turned out to be slightly darker than my expectation. Nonetheless, just like my favourite latte, this colour is soft and comforting. Most importantly, Edison likes it too.
Bedroom 3

Much to my surprise, the colour that I like most after actual painting is Rose White 1143 that we used for Bedroom 3 (study room). It gives a sweet and subtly rosy tone. So bright and so lovable too!
Living and Dining Hall


We use Lily White 1137 on the walls and Whisper Grey 5009 on the ceiling. Lily White 1137 is not stark white, but it’s creamy white with a slight tint of yellow. The end result is a warm and homely feel that we’re looking for.
 Master Bedroom Toilet
Common Toilet. Glad to have my Olympus M.Zuiko Digital ED 9-18mm f/4.0-5.6 ultra wide-angle lens, I can now take interior photos with small spaces!

Our renovation schedule looks something like this:
Completed:
4 Dec 2015: Lay protection sheet
7 Dec 2015: Electrical works
14 Dec 2015: False ceiling works
15 Dec 2015: Carpentry measurement and fabrication
16 Dec 2015: Painting works
Work-in-progress:
5 Jan 2016 (est): Carpentry and lighting installation, glass measurement
8 Jan 2016 (est): Painting touch-up
9 Jan 2016 (est): Clear debris
11 Jan 2016 (est): General washing and glass installation
13 Jan 2016 onwards: Furniture delivery
We paid $1,800 for the painting works of whole unit, including one touch-up after carpentry installation, using Nippon paint with unlimited colour selection. The painting works are done by our ID company.
Will update more in Part Two. So, please stay tuned.